Lychee Gen: How to Use Text-to-3D
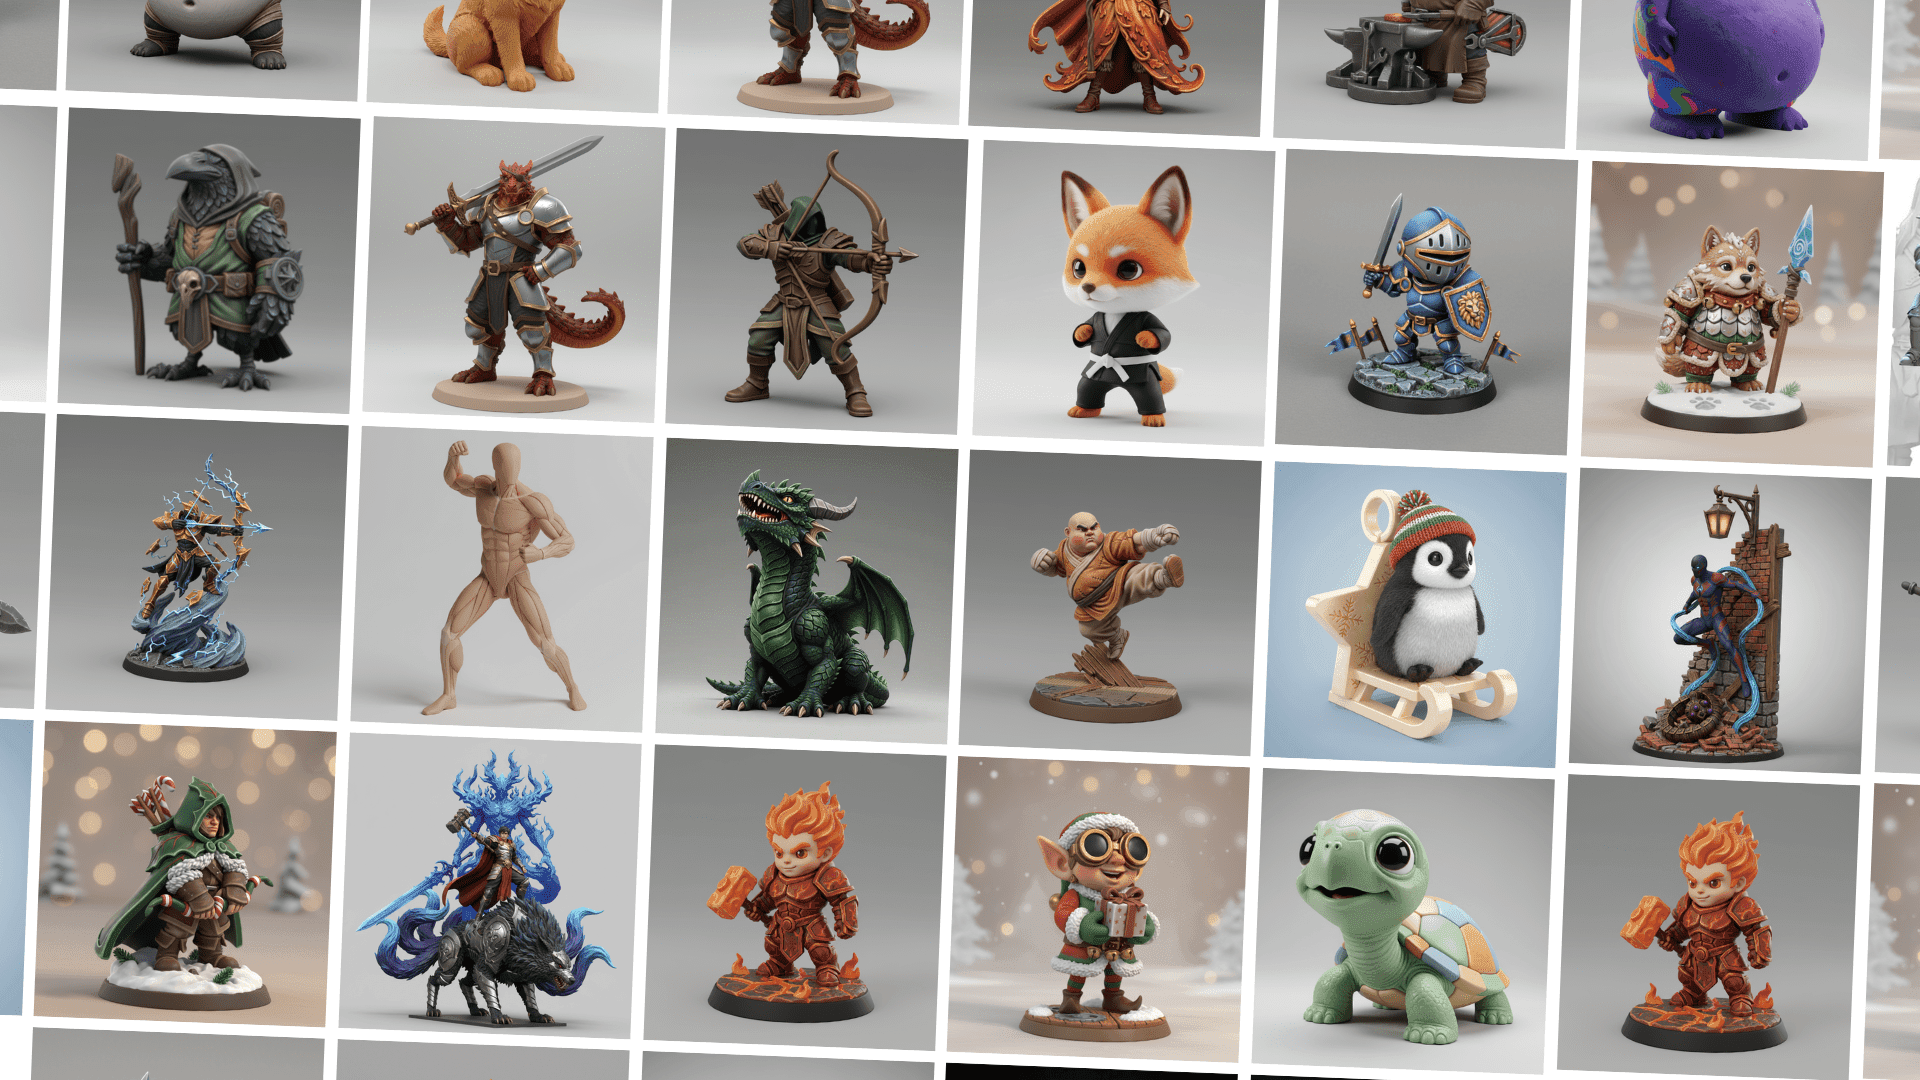
Getting the figurines of your dream doesn't have to be complicated. This step-by-step tutorial shows you exactly how to use Lychee Gen's text-to-3D generator, from writing your first description to downloading your 3D model. Whether you're new to 3D printing or looking for a faster way to create custom designs, you will be generating models in minutes.
Step-by-Step Guide
Step 1: Access Lychee Gen
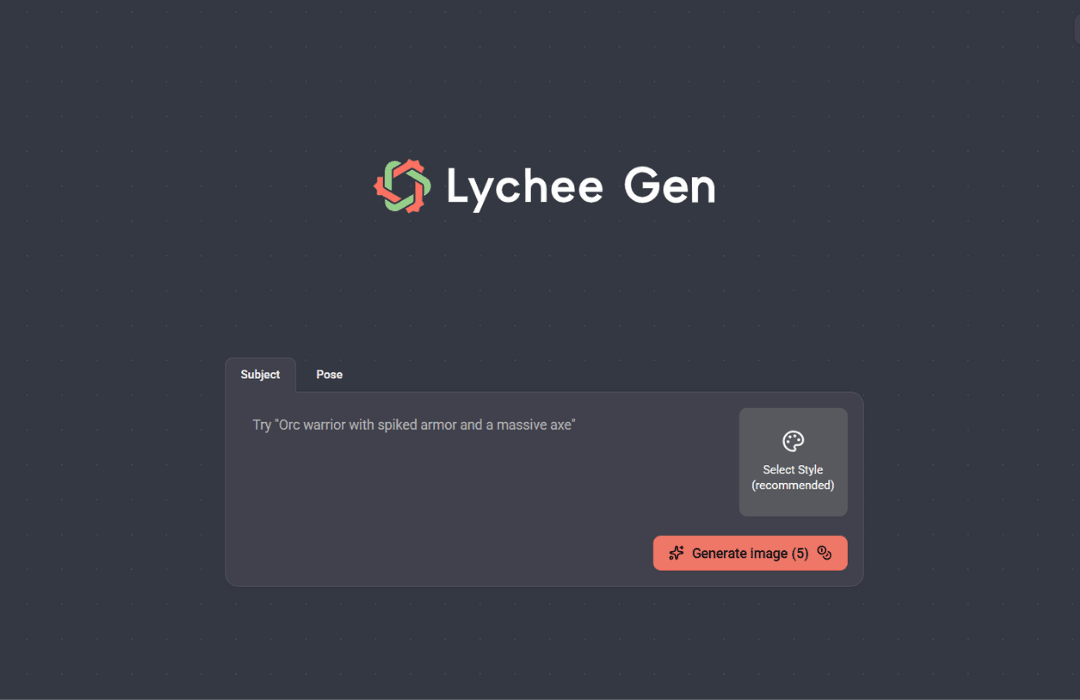
Go to 3dgen.lychee.co to open the text-to-3D generator.
New Lychee user? You will receive 100 free credits to create up to 2 complete models.
Step 2: Choose Your Creation Mode
You'll see two tabs at the top of the interface
- Subject Mode: your main creation tool. Enter any text description to generate complete models: characters, creatures, objects, anything you can imagine. This is where most users start.
- Pose Mode: the creator assistant is perfect for creating base character poses that you can refine later. Great for artists who want to skip the repetitive setup work and jump straight to the creative details.
Not sure which to use? Start with Subject mode, it is the most complete.
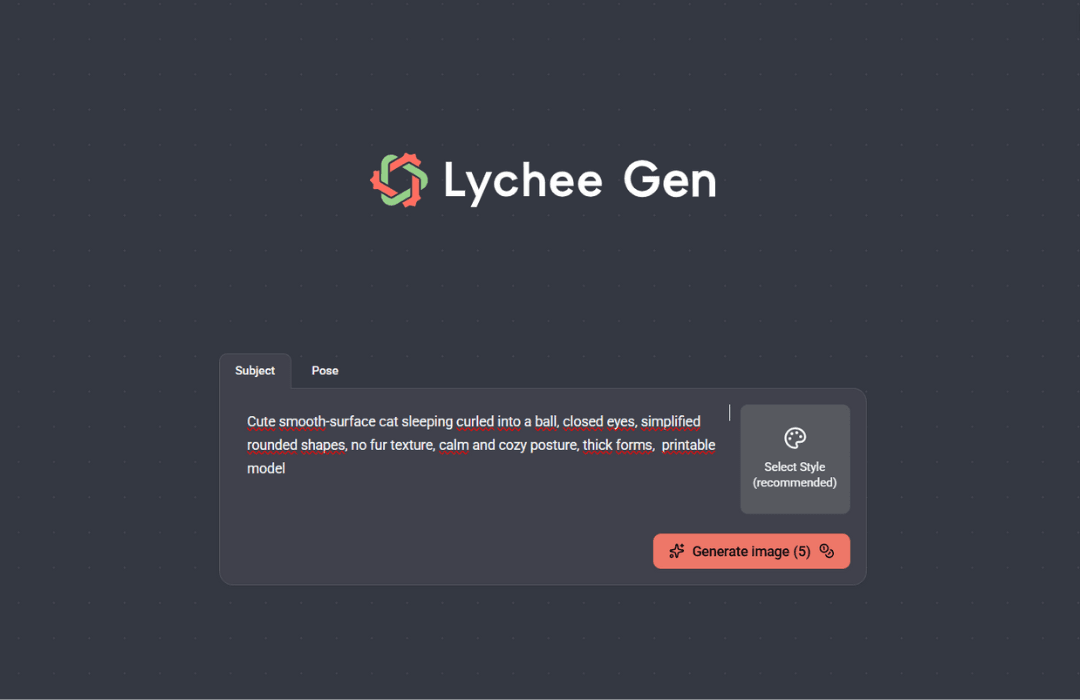
Step 3: Write Your Prompt
In the text field, describe what you want to create. The more specific you are about physical characteristics, materials, and details, the better your results.
Example descriptions:
"Orc warrior with spiked armor and a massive battle axe"
"Steampunk owl with brass wings and mechanical gears"
"Medieval stone tower with ivy growing on weathered walls"
Need help writing effective descriptions? Check our Prompt Help Article for tips and best practices.
Step 4: Select a Style (Optional but Recommended)
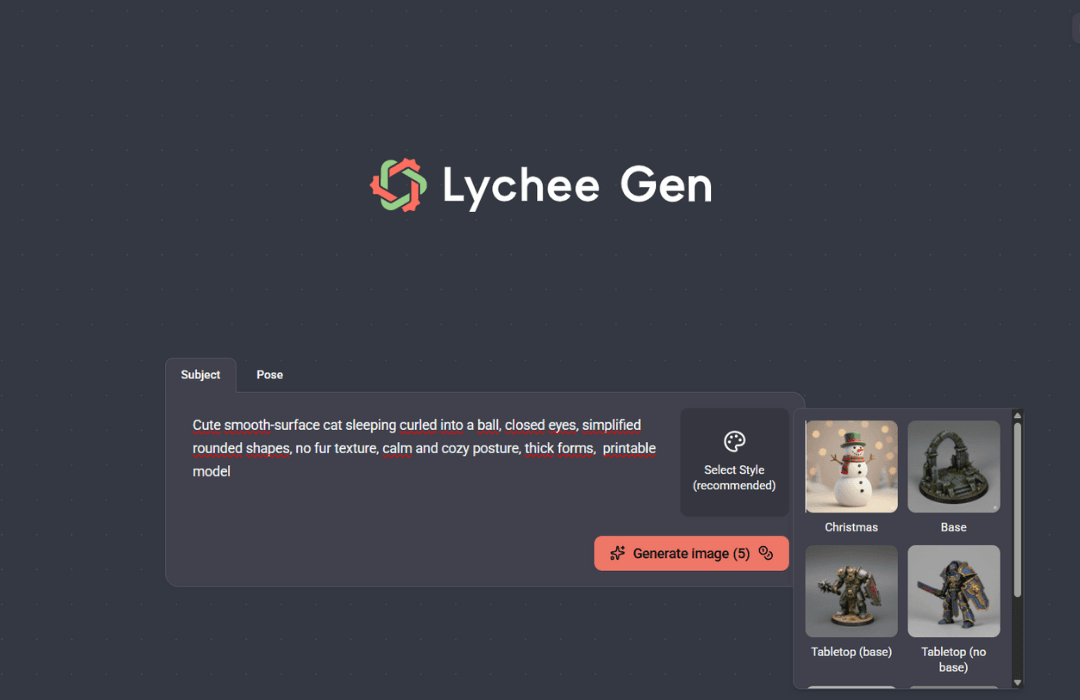
Click "Select Style" to choose how your model should look. Each style is optimized for different uses:
- Christmas (Limited Time): Festive, holiday-themed aesthetic for seasonal creations.
- Base: Clean base to complete your figurines.
- Tabletop (with base): Gaming miniatures with integrated bases. Characters include terrain details built into the base for stability and visual appeal.
- Tabletop (no base): Character miniatures without attached bases. Choose this when you want to add your own custom base later or attach to separate terrain.
- Chibi: Cute, stylized characters with oversized heads and compact proportions.
More styles coming soon! Each style affects proportions, surface details, and printing considerations chosen based on what you're making.
Want a specific style we don't have yet? Tell us what you'd like to see.
Step 5: Generate Image Previews
Click "Generate image (5)". The number shows how many credits this step uses. Your 2D preview will appear in about 20 seconds.

Review your preview:
- Happy with it? Continue to Step 6
- Want a different version? Adjust your description and generate again
You can generate as many previews as you need (in the limits of credits) until you get exactly what you want.
Step 6: Generate the 3D Model
Time to be concrete. Once you've selected your preferred image, click "Generate 3D model (45)". The number shows approximately how many credits this conversion costs.
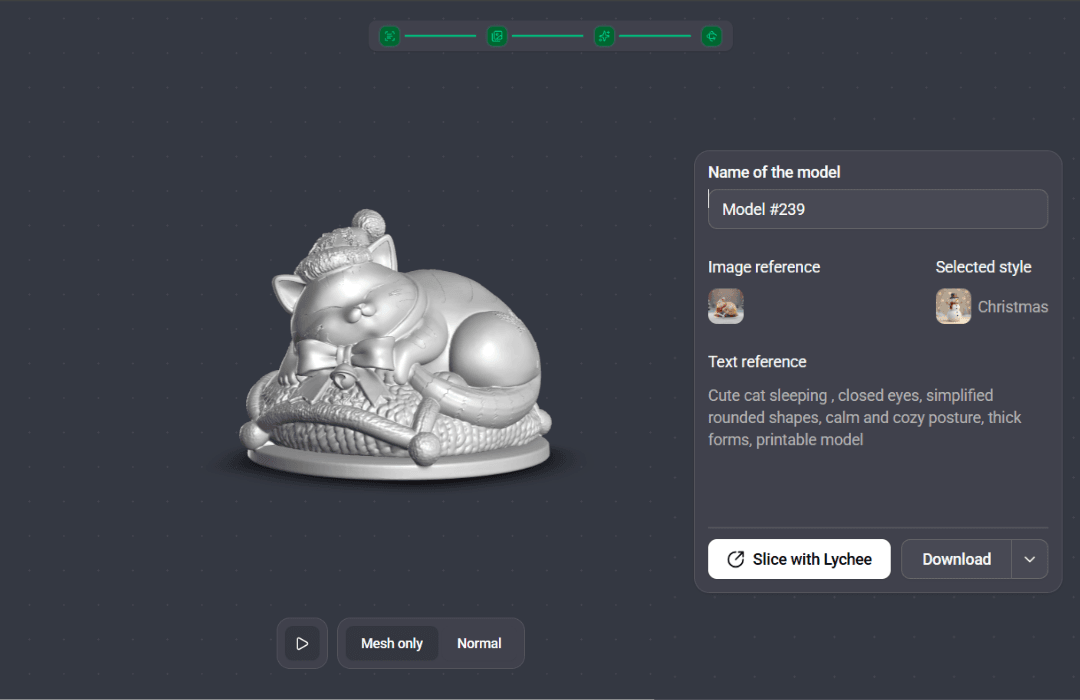
This process converts the 2D image into a full 3D mesh optimized for printing. Generation typically takes 2-4 minutes.
Step 7: Download and Print
Once generation completes, download your model in print-ready formats. The mesh is automatically optimized with manifold geometry, making it ready to import directly into Lychee Slicer or your preferred slicing software.
Bonus Feature: Pose Option
Who is this for? Artists and creators working with humanoid characters or creatures who want to eliminate repetitive tasks. The Pose tab allows you to generate the base, saving valuable time to focus on the artistic step.
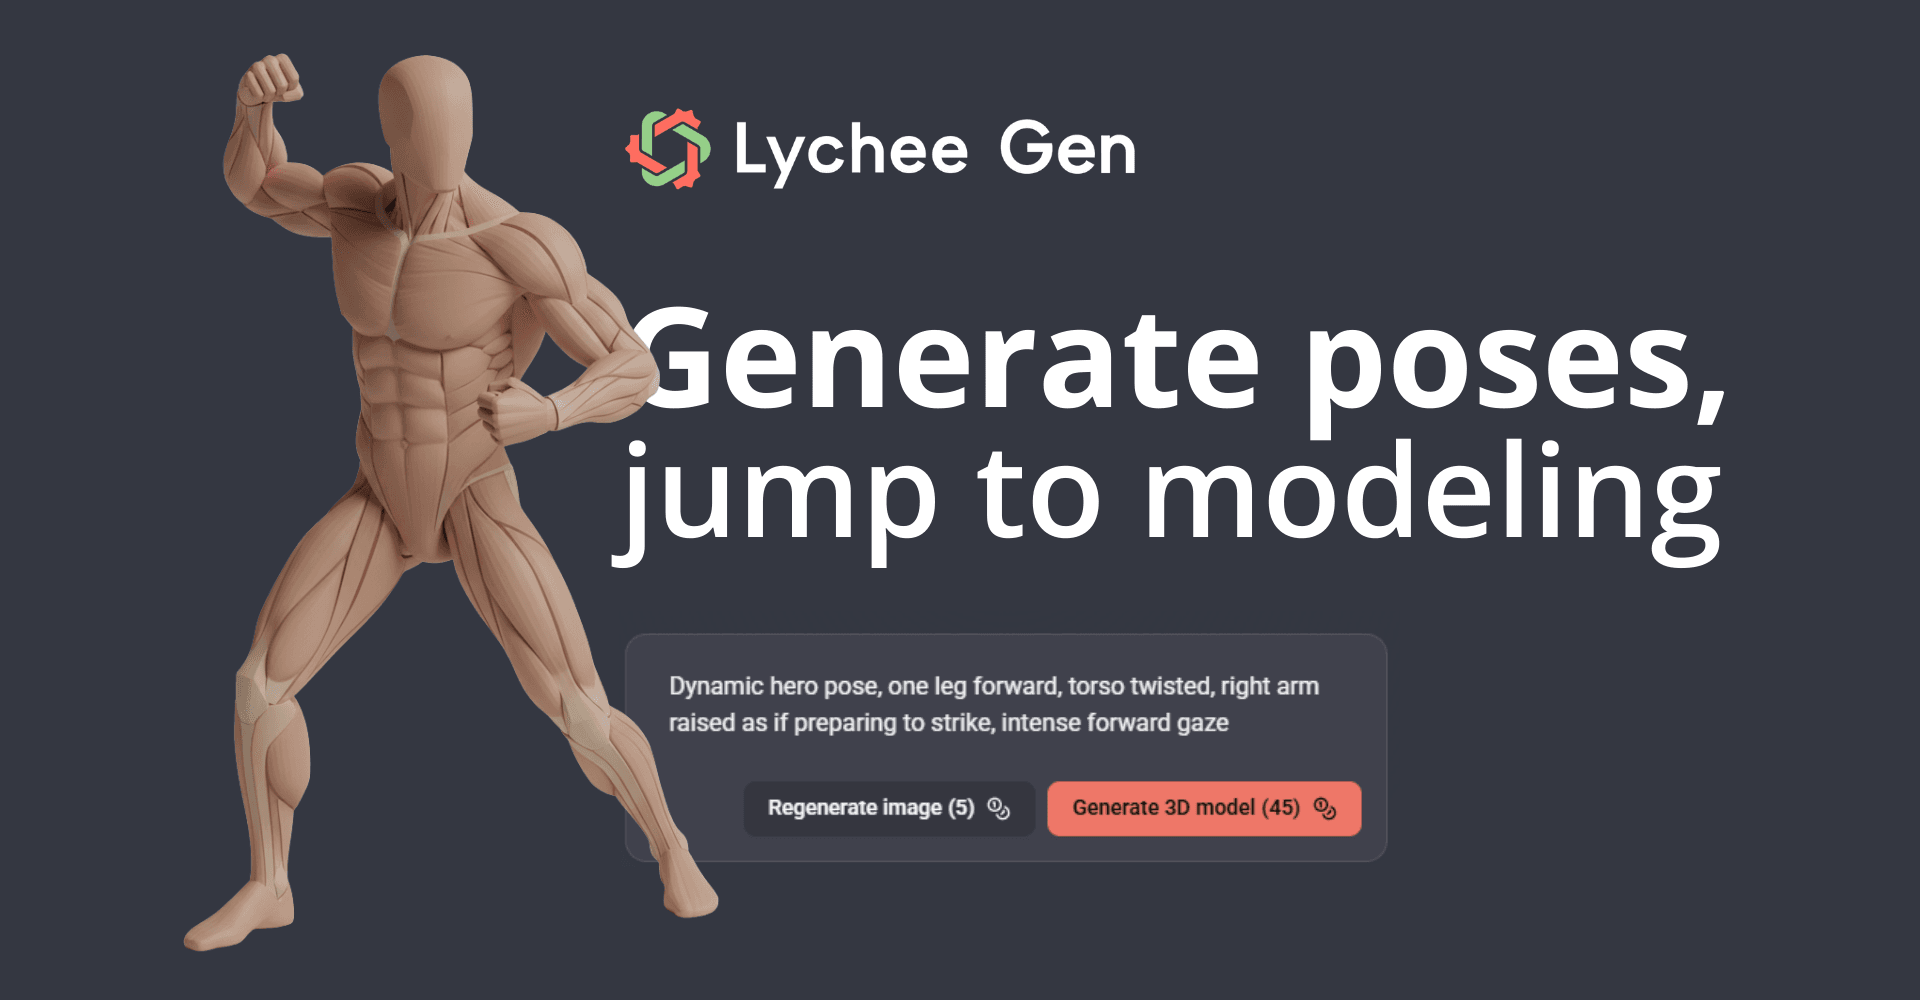
When to Use Pose Tab:
✓ Humanoid characters (warriors, mages, heroes)
✓ Models you plan to rig or animate
✓ Figures that need specific action stances
Example of Pose Options: Based on your own prompt and idea, available poses can include neutral or T-poses, standing poses, dynamic positions like combat stances or dramatic movements, as well as sitting, crouching, reaching, and other custom positions.
💡 Pro Tip: Even when using the Pose tab, reinforce the pose in your text description for best results. Example: "Fantasy knight in heavy armor, holding sword and shield, standing in defensive stance". This ensures the pose and the overall design work together perfectly.